A warehouse layout is a bit like a road map. When it is clear and well planned, everything moves smoothly. When it is not, even simple tasks take longer than they should. For warehouses handling palletised goods, the layout plays a direct role in how safely people work, how fast orders move, and how much stock the building can actually hold.
For warehouse and logistics professionals, layout decisions are rarely theoretical. A few centimetres in aisle width can affect forklift access. One extra beam level can unlock valuable vertical space. A poorly planned flow can turn picking into a daily bottleneck. These choices add up quickly.
This article is based on independent research using Australian standards, government guidance, academic studies, and industry publications. This guide explains warehouse layout design in practical terms. The goal is to help you design or refine a layout that works with your operation, not against it.
What Is a Warehouse Layout
A warehouse layout is the planned arrangement of storage systems, aisles, work zones, and traffic paths inside an industrial building. It defines where pallet racking uprights stand, how wide aisles need to be, and how goods move from receiving to storage, picking, and dispatch.
Warehouse layout design also considers vertical space, beam level heights, pallet sizes, and equipment reach. According to Safe Work Australia, warehouse layout planning should integrate storage systems, handling equipment, and inventory characteristics to maintain safety, efficiency, and regulatory compliance.
Why Warehouse Layout Matters for Operations
Impact on storage capacity
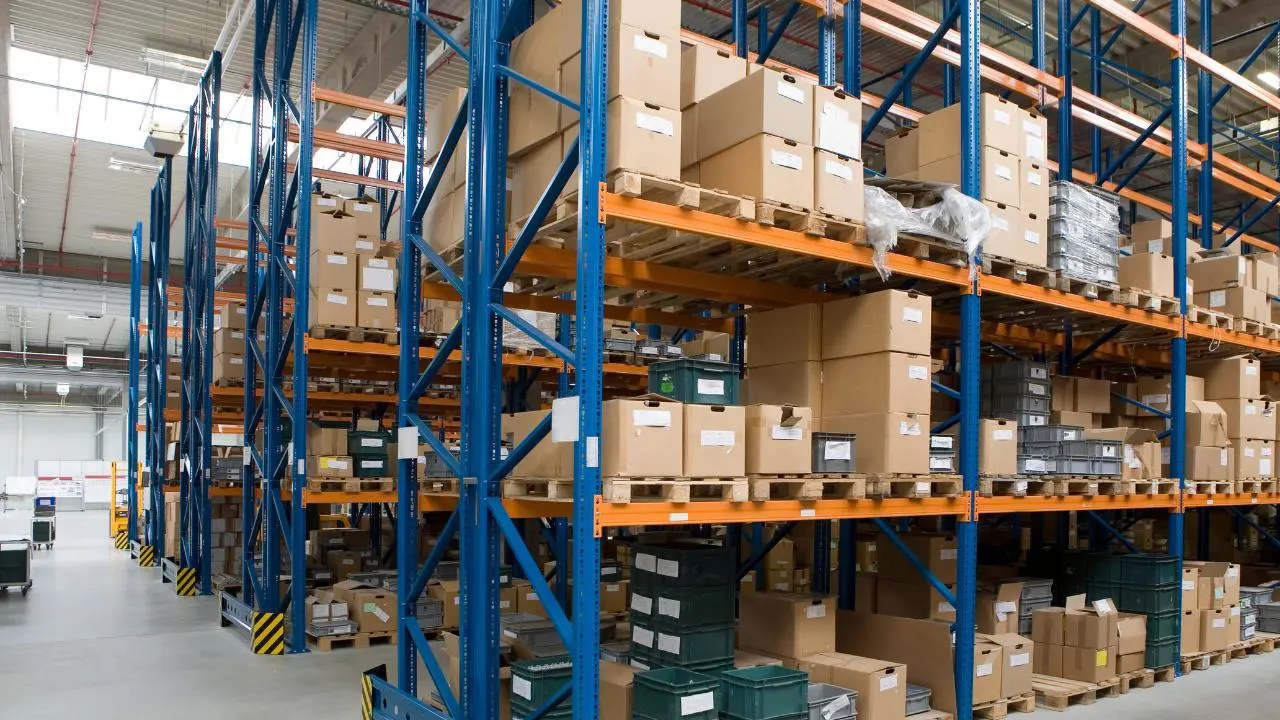
Storage capacity is not just about floor space. Vertical space often matters more. A well-planned warehouse racking layout uses ceiling height effectively by selecting the right beam levels and racking beam heights for your pallet profile. Poor layouts leave unused air above the top beam or create rack rows that cannot be fully utilised due to clearance issues.
According to SafeWork NSW, storage systems should be designed to suit both the load and the handling method to avoid wasted or unsafe space.
Impact on picking speed and workflow
Layout directly affects how far people and machines need to travel. Short, clear paths reduce travel time and fatigue, which improves picking speed. By cutting unnecessary movement, warehouses can increase throughput without adding labour and reduce congestion during busy periods.
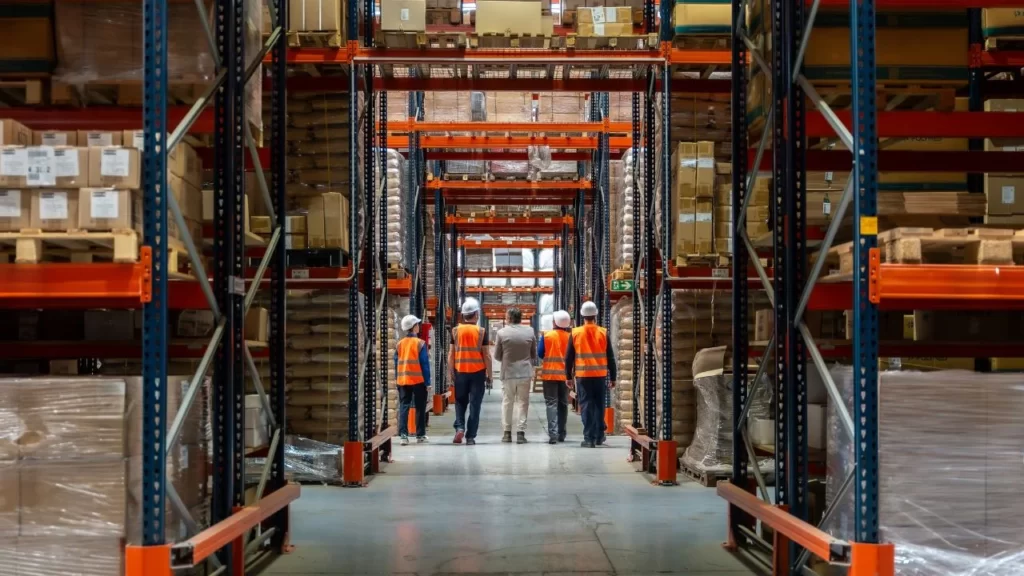
Impact on safety and compliance
Congested aisles, poor traffic separation, and inadequate clearances increase collision risk. WorkSafe Victoria notes that forklift incidents remain a leading cause of serious workplace injuries in warehouses. A compliant layout supports safer behaviour by design, not by constant reminders.
Key Factors for Warehouse Layout
Storage system type
Different racking systems demand different layouts. Selective pallet racking prioritises access, while drive-in racking trades access for density. Understanding these trade-offs is essential. Different racking types offer distinct benefits depending on your operational needs.
Material handling equipment
Forklifts, reach trucks, and pallet jacks all require different aisle widths and turning clearances. Australian Standard AS 4084.2-2023 highlights the need to match equipment capability with racking design and aisle planning.
Inventory profile and turnover
Fast-moving SKUs belong closer to dispatch. Slow movers can sit higher or deeper in the warehouse. Slotting based on turnover improves pick rates and reduces congestion.
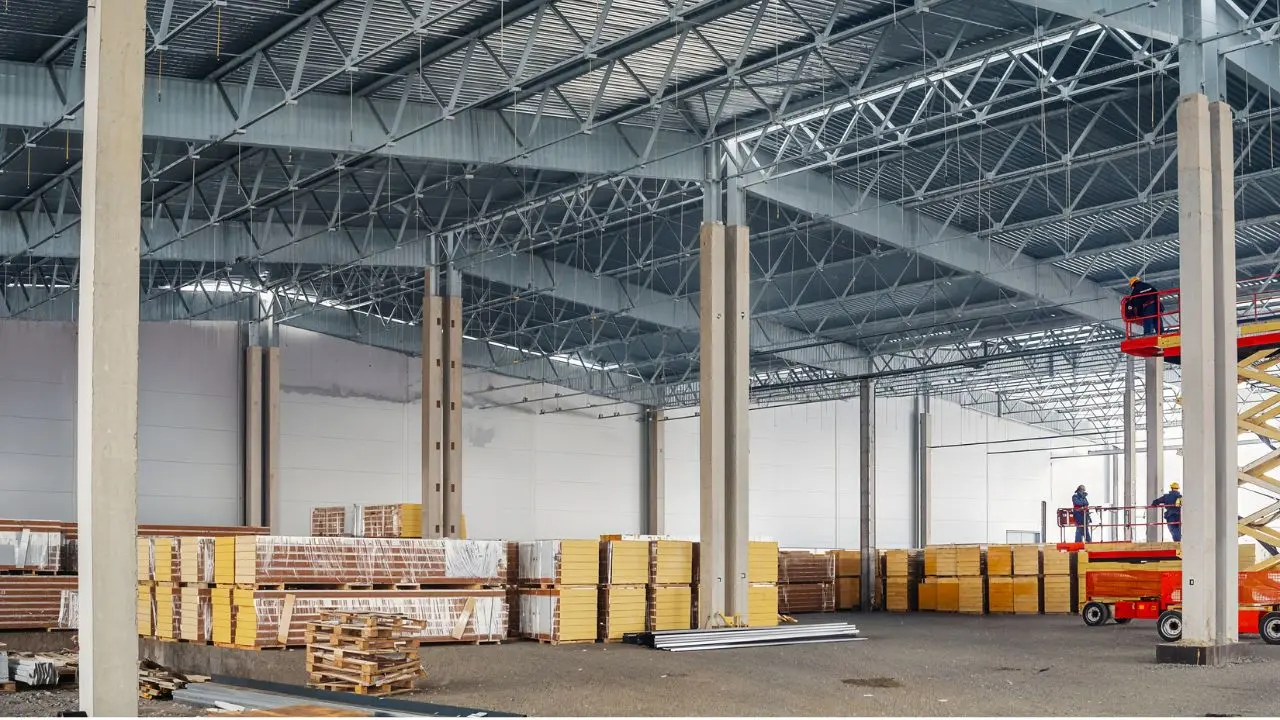
Building dimensions and constraints
Columns, fire exits, slab capacity, and roof height all shape layout decisions. Beam level heights must align with clear roof space and sprinkler systems.
Safety regulations and clearances
Australian pallet racking standards define minimum clearances between racking, loads, and equipment. Ignoring these limits increases risk and may breach compliance. Standards should guide every layout decision, not be checked after installation.
Common Types of Warehouse Layouts
U-shaped layout
Receiving and dispatch sit on the same side of the building. This layout reduces travel distance and suits operations with shared labour and equipment.
I-shaped layout
Goods flow straight from one end to the other. This layout works well in high-volume distribution centres with clear separation between inbound and outbound zones.
L-shaped layout
An L-shape adapts to site constraints such as irregular blocks or shared facilities. While efficient, it requires careful traffic planning to avoid congestion points.
Cross-dock layout
Designed for minimal storage, cross-dock layouts move goods directly from receiving to shipping. Cross-docking can cut handling time significantly, but demands precise scheduling.
Hybrid layouts for mixed operations
Many warehouses combine selective pallet racking, bulk storage, and picking zones. Hybrid layouts balance access, density, and flexibility, especially in facilities handling mixed pallet sizes and order profiles.
Layout choice should always align with storage systems, which is why understanding racking options is critical before finalising floor plans.
Aisle Width Planning and Clearance Requirements
Narrow aisle vs wide aisle layouts
Narrow aisles increase storage density but require specialised reach trucks. Wide aisles allow standard forklifts and simpler operations. Aisle width decisions should factor in truck type, load size, and operator skill.
Forklift and reach truck clearance needs
Clearance must allow safe turning, lifting, and load handling. AS 4084 specifies minimum clearances between pallet racking beams and loads to prevent impact damage.
Safety clearances for racking and equipment
Adequate clearance reduces collision risk and extends racking life. WorkSafe Queensland advises maintaining visible safety margins to account for load sway and operator variation.
Impact of aisle width on storage density
Every extra centimetre in aisle width reduces pallet positions. However, overly tight aisles slow operations and raise safety risks. The best layout balances density with flow, like tuning a radio to reduce static without losing signal.
Racking Layout and Beam Level Planning
Beam height selection
Beam levels should match standard pallet sizes and load heights. Incorrect spacing wastes vertical space or limits pallet access.
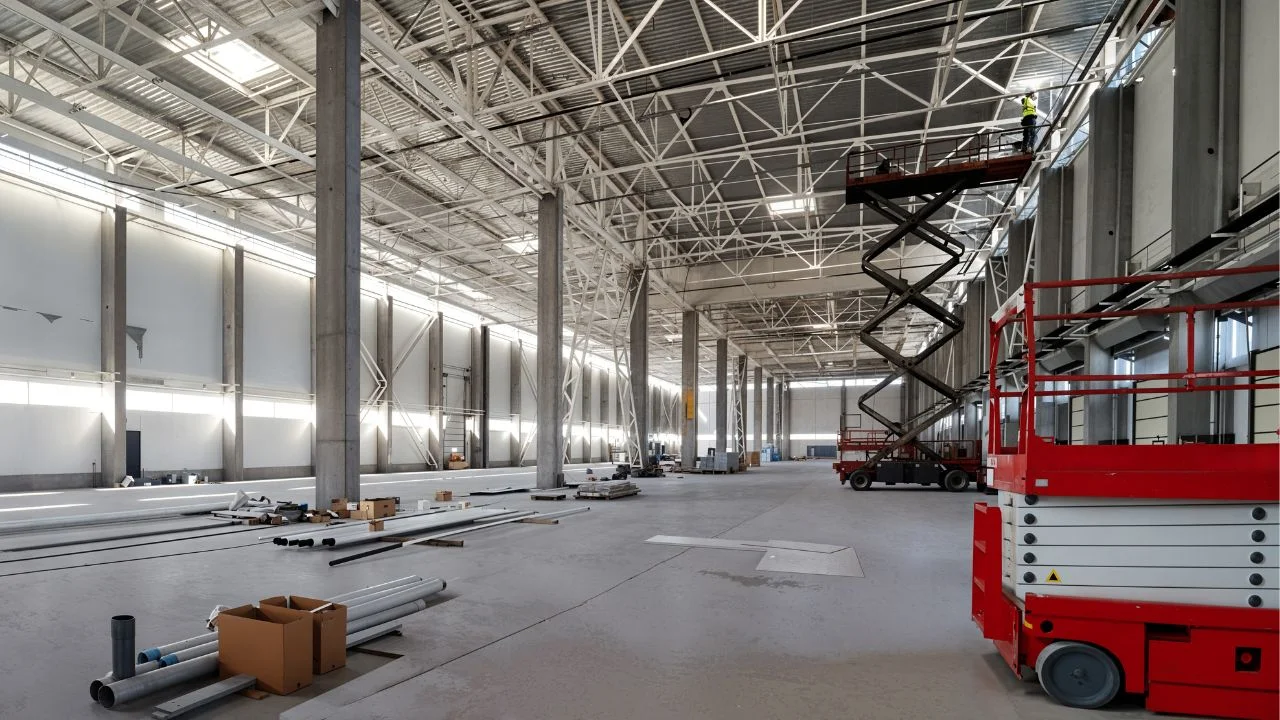
Vertical space optimisation
Using full building height improves storage density, but only when load limits, fire systems, and access equipment support it. According to Engineers Australia, structural capacity and safety systems must guide vertical expansion decisions.
Load limits and pallet sizes
Industrial warehouse racking relies on accurate load data. Overloading beams or mismatching pallet sizes increases failure risk. Manufacturers’ load charts and Australian standards must always be followed.
Future expansion considerations
Leaving space for additional beam levels or extended racking runs avoids costly redesign later. Flexibility is often cheaper to plan than to retrofit.
Material Flow and Picking Path Optimisation
Receiving to storage flow
Inbound pallets should travel the shortest, safest route to storage. Straight paths reduce handling time and damage risk.
Picking and replenishment paths
Clear, logical picking paths reduce travel distance. Well-planned pick paths help staff move efficiently, improving both order accuracy and overall picking speed.
Shipping and staging zones
Adequate staging space prevents bottlenecks. Poorly planned dispatch zones often create congestion, especially late in the day when outbound volumes peak increase.
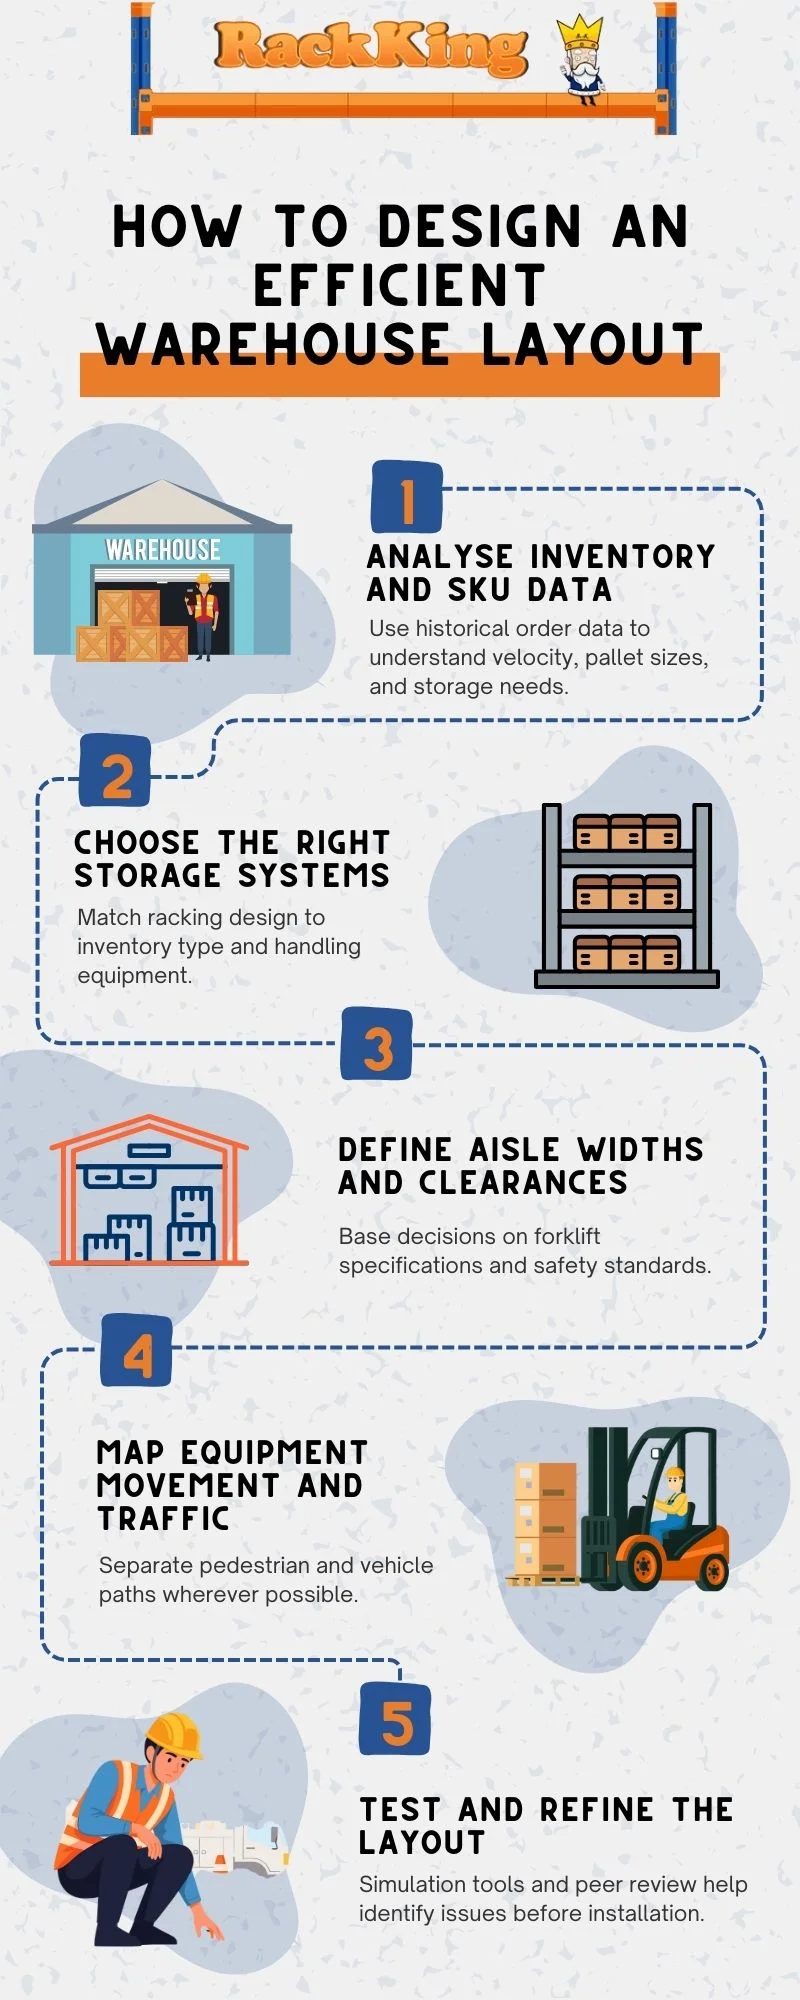
How to Design an Efficient Warehouse Layout
Common Warehouse Layout Mistakes to Avoid
- Underestimating aisle clearance
- Ignoring future growth
- Poor separation of traffic and work zones
- Inefficient use of vertical space
Many of these issues appear repeatedly in safety audits.
When to Redesign or Upgrade an Existing Warehouse Layout
Warehouse layouts need updates as operations change. New inventory, different pallet sizes, or faster forklifts can make old layouts inefficient or unsafe. Regular warehouse inspections often reveal blocked aisles, underused space, or outdated racking.
According to Safe Work Australia, layouts should be reviewed after major operational changes or on a regular schedule. Upgrades don’t always require expansion; adjusting rack positions, adding beam levels, or redesigning picking zones can improve flow, boost efficiency, and enhance safety without major construction.
Conclusion
Designing a warehouse layout is more than placing shelving and drawing lines on a floor plan. It’s about aligning space, systems, and operations to work together in a way that improves throughput, keeps people safe, and supports long-term growth. Whether you are planning a new facility or revising an existing one, paying careful attention to aisle widths, beam levels, clearances, and material flow will pay dividends in efficiency and safety. Using industry standards, well-proven layout strategies, and thoughtful material handling planning helps avoid costly rework and downtime. The warehouse decisions you make today become the foundation of your operational performance tomorrow.
Ready to Optimise Your Warehouse Layout?
If you need reliable pallet racking solutions or expert guidance on warehouse design and compliance, RackKing Australia can help. Our team specialises in practical racking systems built for Australian conditions, backed by local standards and safety requirements. Whether you’re increasing storage density, improving workflow, or upgrading your layouts, we’re here to support your goals.
Related Articles
Warehouse Storage System Optimisation for Australia in 2026
Common Rack Mistakes to Avoid for Warehouse Racking Safety
FAQs
What is the ideal aisle width for pallet racking?
According to AS 4084.2-2023, aisle width depends on forklift type, load size, and turning radius. Industry guidelines recommend allowing additional clearance beyond minimums for safety and efficiency.
How do forklift types affect warehouse layout design?
WorkSafe Victoria explains that reach trucks support narrower aisles, while counterbalance forklifts require wider aisles for turning. Layouts must match equipment capability.
How much clearance is required above pallet racking beams?
Safe Work Australia advises maintaining vertical clearance to account for load height, pallet variation, and sprinkler system. Exact values depend on building and racking design.